Public Project
Taming the Chaos: My Photography Post-Production Workflow
Summary
Overwhelmed by photo editing after a shoot? This guide provides a step-by-step photography post-production workflow to organize, cull, and edit images efficiently. Learn how to use Lightroom for metadata tagging, image rating, and exporting high-quality photos for clients. Optimize your editing process and save valuable time!
Organization is Key
- Date-Based File Structure: I organize all my photos based on the date of the shoot. Within each date folder, I create separate subfolders for RAW files (always preserve your originals!) and DNG files. DNGs offer a more manageable file size for tagging and editing without sacrificing quality.
- Lightroom Import and Metadata: Upon importing images into Lightroom, I immediately add essential metadata: copyright symbol, my name, and my company name. This ensures proper attribution and protects my work.
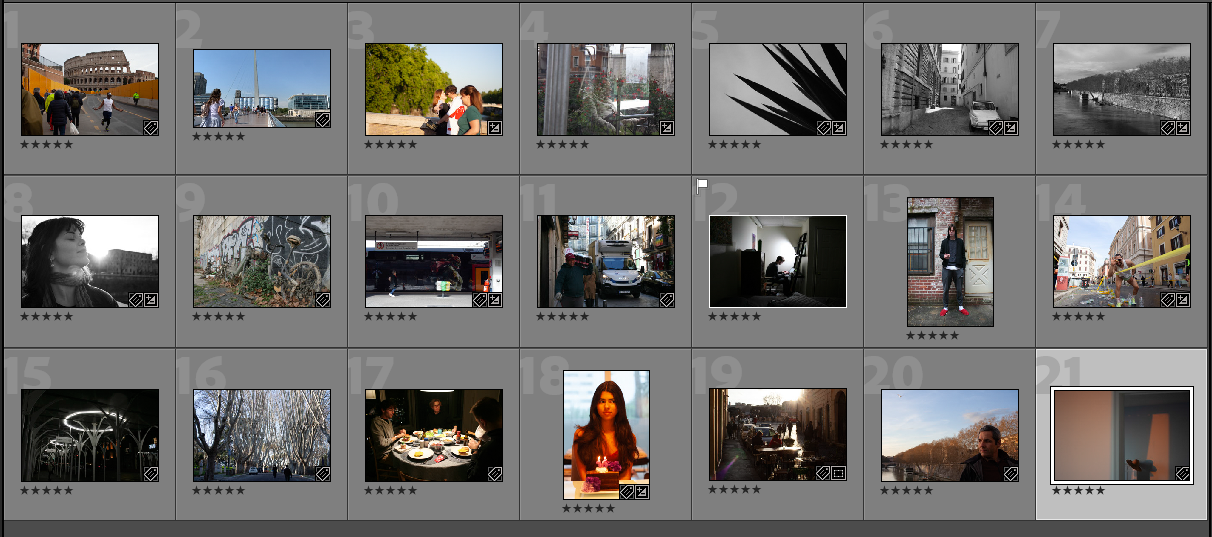
- Initial Culling: My first round of editing focuses solely on composition. I quickly filter through the images, marking those with strong compositional elements with one star, regardless of lighting or other factors.
Refining the Selection
- Creating Collections: I utilize Lightroom's Collections feature to further organize my images. I create collections for personal use (images with artistic merit), portfolio potential, and specific client deliveries.
- Metadata Tagging: This is where the magic happens. I meticulously tag images with relevant keywords. For event photography, this might include tags like "grip and grins," "wide shots," "food close-ups," and even specific dish names and catering company information.
- The Power of Metadata: Detailed metadata tagging is invaluable for future searches and project organization. Need to quickly find all the photos you've ever taken of horses? No problem! A simple search for the "horses" tag will instantly pull up all relevant images.
Editing and Rating
- Iterative Editing: I employ a multi-tiered editing process, progressively refining my selection. I move from one-star images to two stars, then three, and so on. The number of editing rounds depends on the project's turnaround time. A tight deadline might mean only two rounds, while a longer timeframe allows for more meticulous selection.
- Exporting the Final Images: Once I've finalized my edits and ratings, I export the images as high-resolution JPEGs at 300 DPI, a standard format for client delivery. However, I always adapt to specific client needs and preferences.
524

